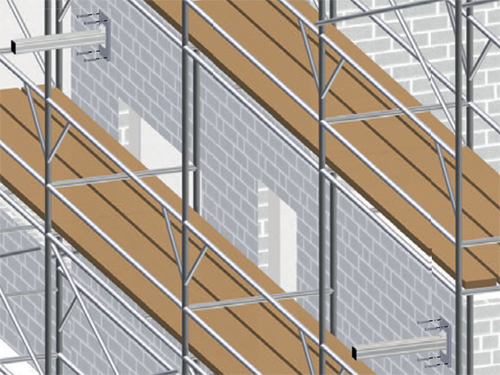
Facade Installation
The Rugby 640 and the Rod Eye 140, Classic Receiver create a vertical plane of laser light that is aligned to the building and acts as a constant reference for facade installations.
Mounting the facade adapter brackets
| Step | Description |
| 1 | Mount the facade adapter brackets to the side of the building in locations where it is desired to have a laser and receiver setup. |
Laser setup
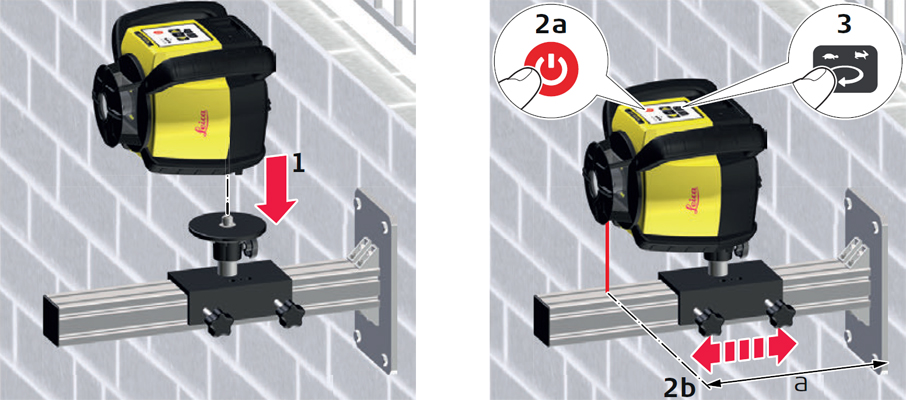
| Step | Description |
| 1 | Mount the Rugby to the clamp and then the clamp to the facade adapter bracket. |
| 2 | Turn on the Rugby. The laser beam will automatically point downwards so that the laser and the clamp can be positioned at the desired distance from the building’s surface. |
| 3 | Set the head rotation to the fastest speed (10 rps). |
Receiver setup
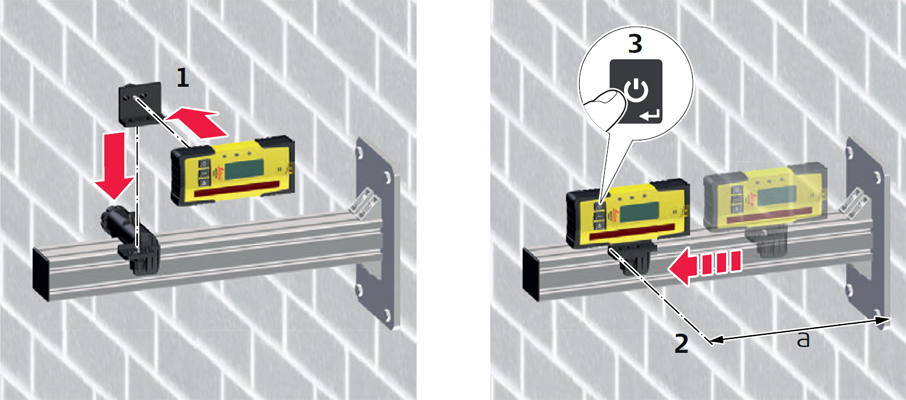
| Step | Description |
| 1 | Mount the receiver to the receiver bracket using the 90° adapter. |
| 2 | Attach the bracket to the facade adapter bracket. The top of the receiver bracket should be set at the same distance from the building’s surface as the laser for proper alignment. |
| 3 | Turn on the receiver. |
Alignment
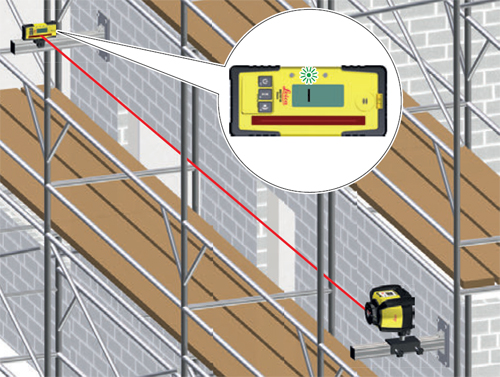
Use the remote control to move the rotating laser beam left or right until the receiver displays an on-grade position.